External Display BrowserStart here5 min read
How to Connect Your iPhone or iPad to a Monitor, TV or Projector, and Fill the Screen
Plugging an iPhone into a TV is easy. Getting a usable screen out of it is the hard part. Stock iOS mirrors your phone, so a 16:9 monitor shows a tall phone-shaped picture floating between two black bars. XeOS replaces that mirror with a desktop that uses every pixel the panel has. Do the setup on this page once and the rest of the guides here will assume you've done it.
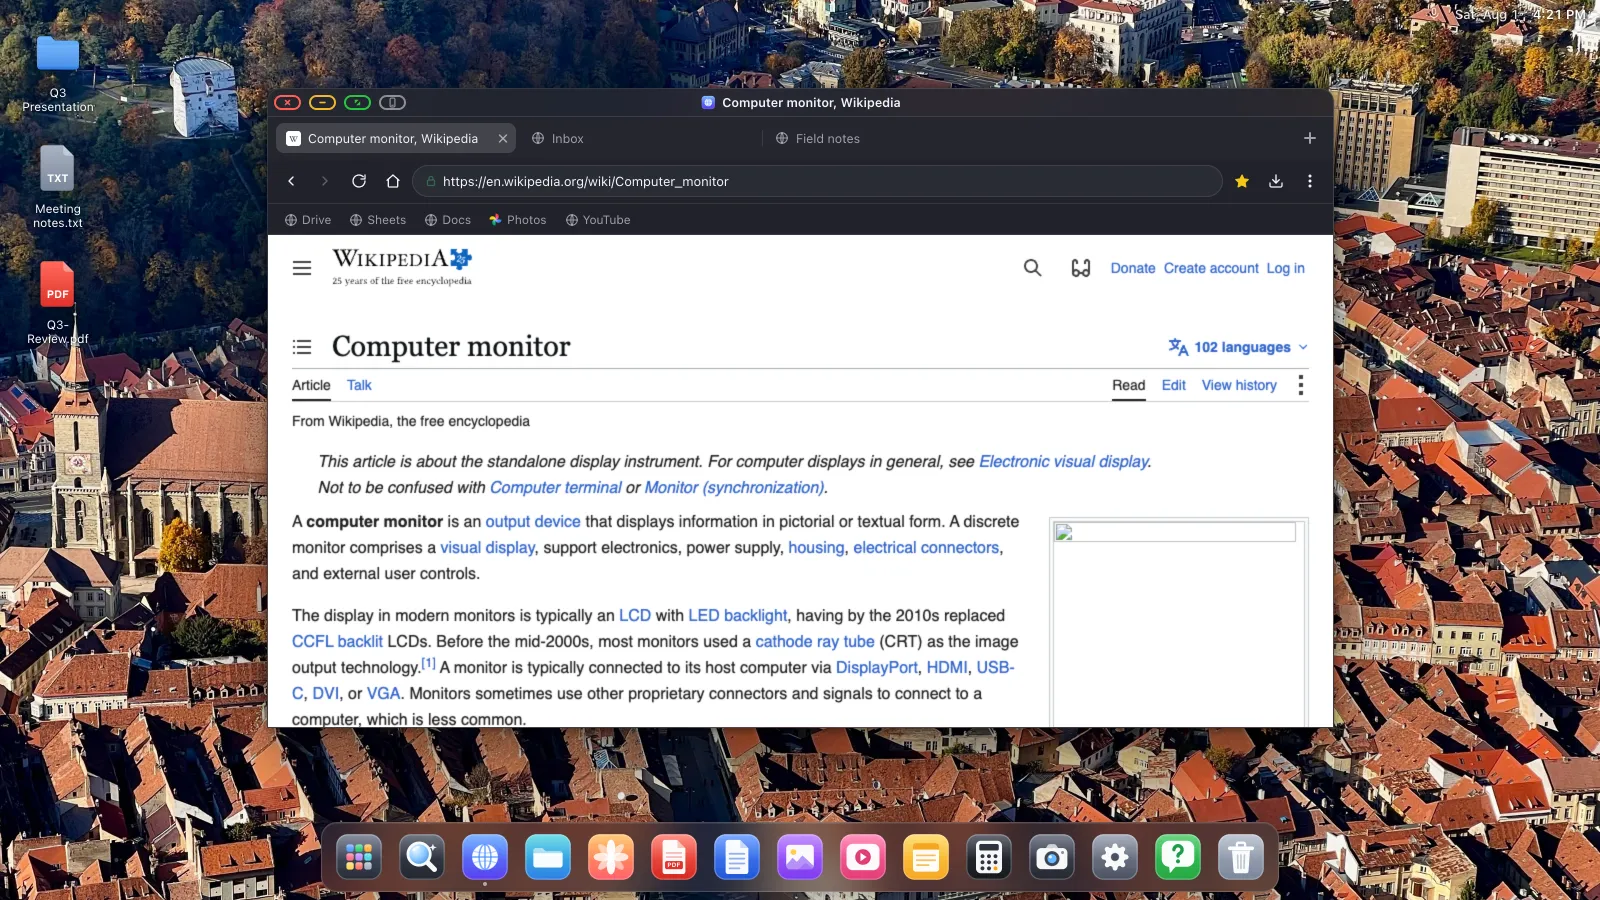
What you need
- An iPhone or iPad that can output video. That covers any USB-C iPhone, any Lightning iPhone with the right adapter, and iPads going back many generations.
- A cable or adapter, or an AirPlay receiver if you'd rather go wireless.
- A Bluetooth mouse and keyboard. Optional, but they make more difference than anything else on this list.
Step 1: choose how you'll connect
Option A: a cable (recommended)
Wired is lower latency, doesn't care about your Wi-Fi, and on USB-C devices it charges the phone while you work. The setup flow in XeOS lists the same options you'll find in a shop:
| Connection | Works with |
|---|---|
| USB-C to USB-C | USB-C iPhones and iPads, USB-C monitors |
| USB-C to HDMI | USB-C iPhones and iPads, any HDMI monitor, TV or projector |
| USB-C multiport adapter | HDMI plus USB-A plus a charging port, all at once |
| Lightning to HDMI | Lightning iPhones, via a Lightning Digital AV Adapter |
| Lightning to VGA | Older projectors and meeting-room screens |
If you plan to work for more than an hour, buy a multiport adapter rather than a plain cable. One connector gives you HDMI, power and a USB-A port for a drive or a dongle. The drives guide covers what you can do with that USB-A port.
Option B: AirPlay
XeOS also runs over AirPlay, so an Apple TV or an AirPlay-capable smart TV works with no cable at all:
- Open Control Centre on your iPhone or iPad.
- Tap Screen Mirroring.
- Pick your Apple TV, Mac or smart TV.
- Wait until the screen is mirrored, then go back to XeOS. It finds the display on its own.
AirPlay adds a little latency and depends on your network. For video and slideshows that's fine. For anything where you're clicking around a lot, a cable feels noticeably better.
Step 2: run the setup flow
Open XeOS with the display connected. The first-run flow walks through mouse, keyboard, permissions and the connection itself, then reaches the two settings worth slowing down for: resolution and scaling.
If the monitor or TV doesn't light up at all, check the boring things first. Is it powered on? Is it on the right input? Plenty of monitors and TVs also need their USB-C or DisplayPort features switched on explicitly in their own settings menu before they'll accept a signal.
Step 3: pick the resolution
XeOS reads the modes your monitor reports and lets you choose between them, the same way a desktop OS does. 1920 × 1080 is the safe default. Go higher if your screen supports it and you want more room, lower if you want everything bigger without touching scaling.
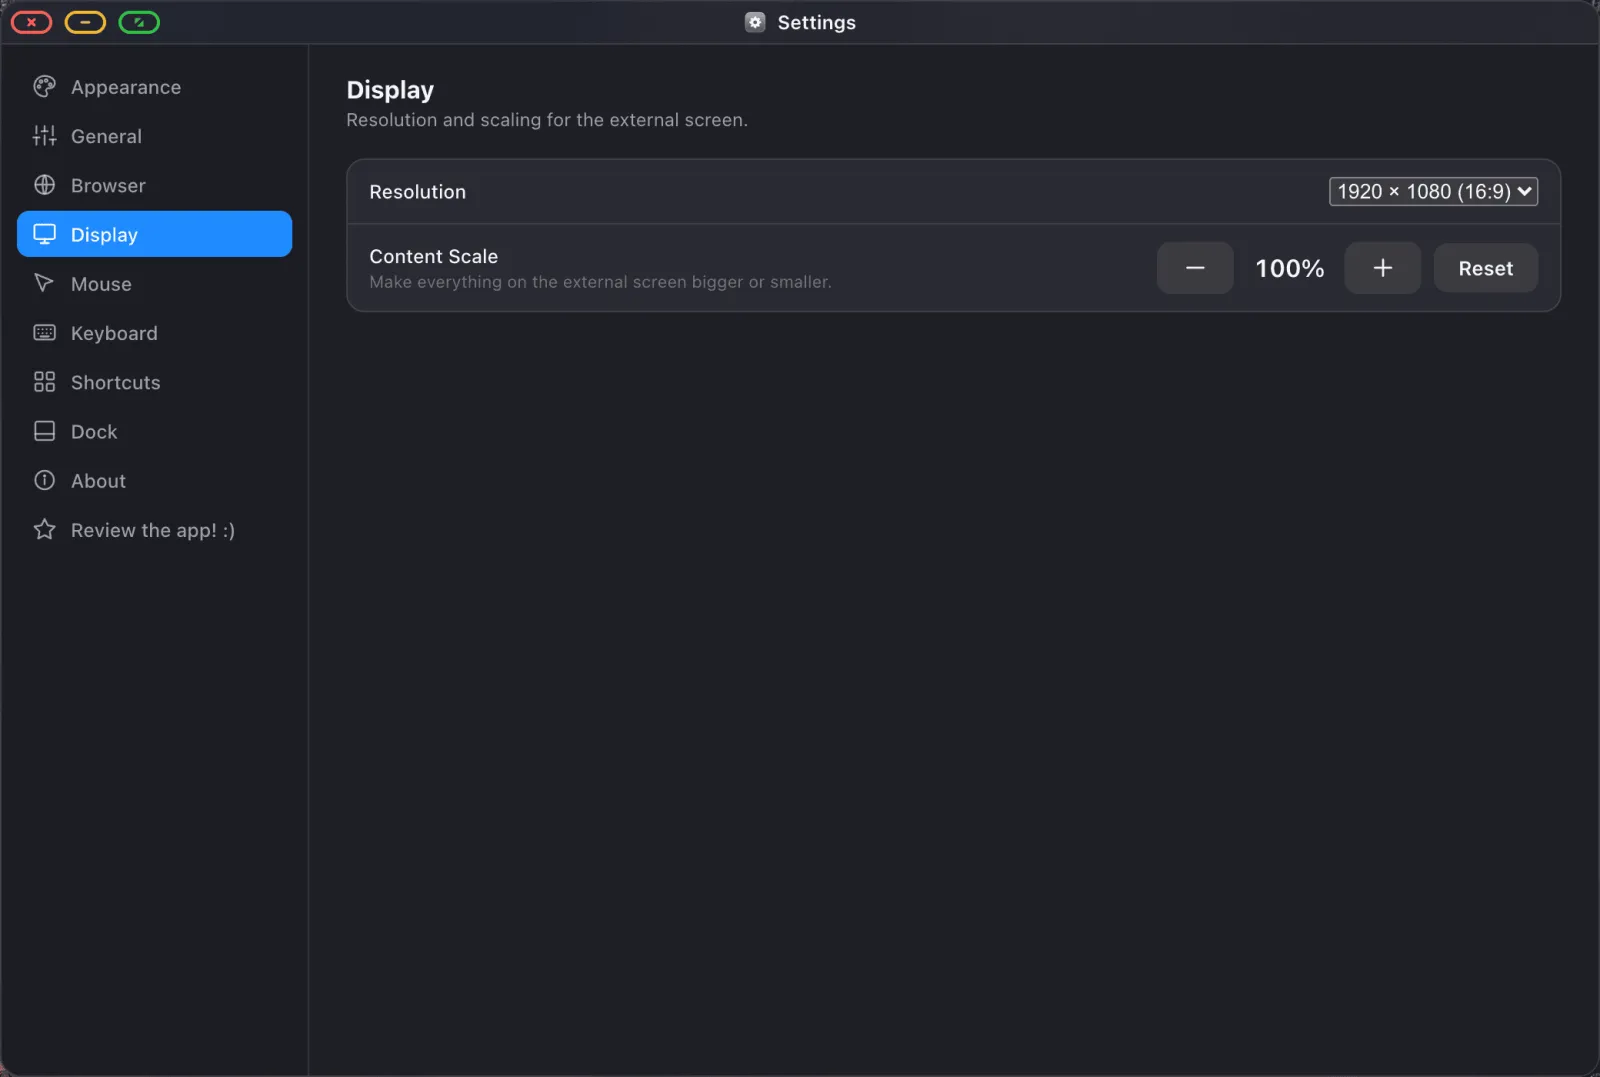
This is also where black bars get solved. Mirroring hands the TV a phone-shaped image and leaves the TV to pad it out. XeOS switches the output to a mode the display natively understands and turns off overscan compensation, so the picture reaches the edges of the panel.
Step 4: set the content scale
Resolution decides how many pixels there are. Content scale decides how big everything drawn on them looks. From across a living room, 130–150% keeps text readable on a TV. At desk distance on a monitor, 100% is usually right. Change it any time from Settings › Display, in 5% steps between 50% and 200%.
Step 5: add a mouse and keyboard
XeOS works without them. Your phone's screen becomes a trackpad, so you can point at the big screen with your thumb. A cheap Bluetooth mouse still changes the experience more than any other single upgrade. Pair both in iOS Settings › Bluetooth before launching and XeOS picks them up automatically.
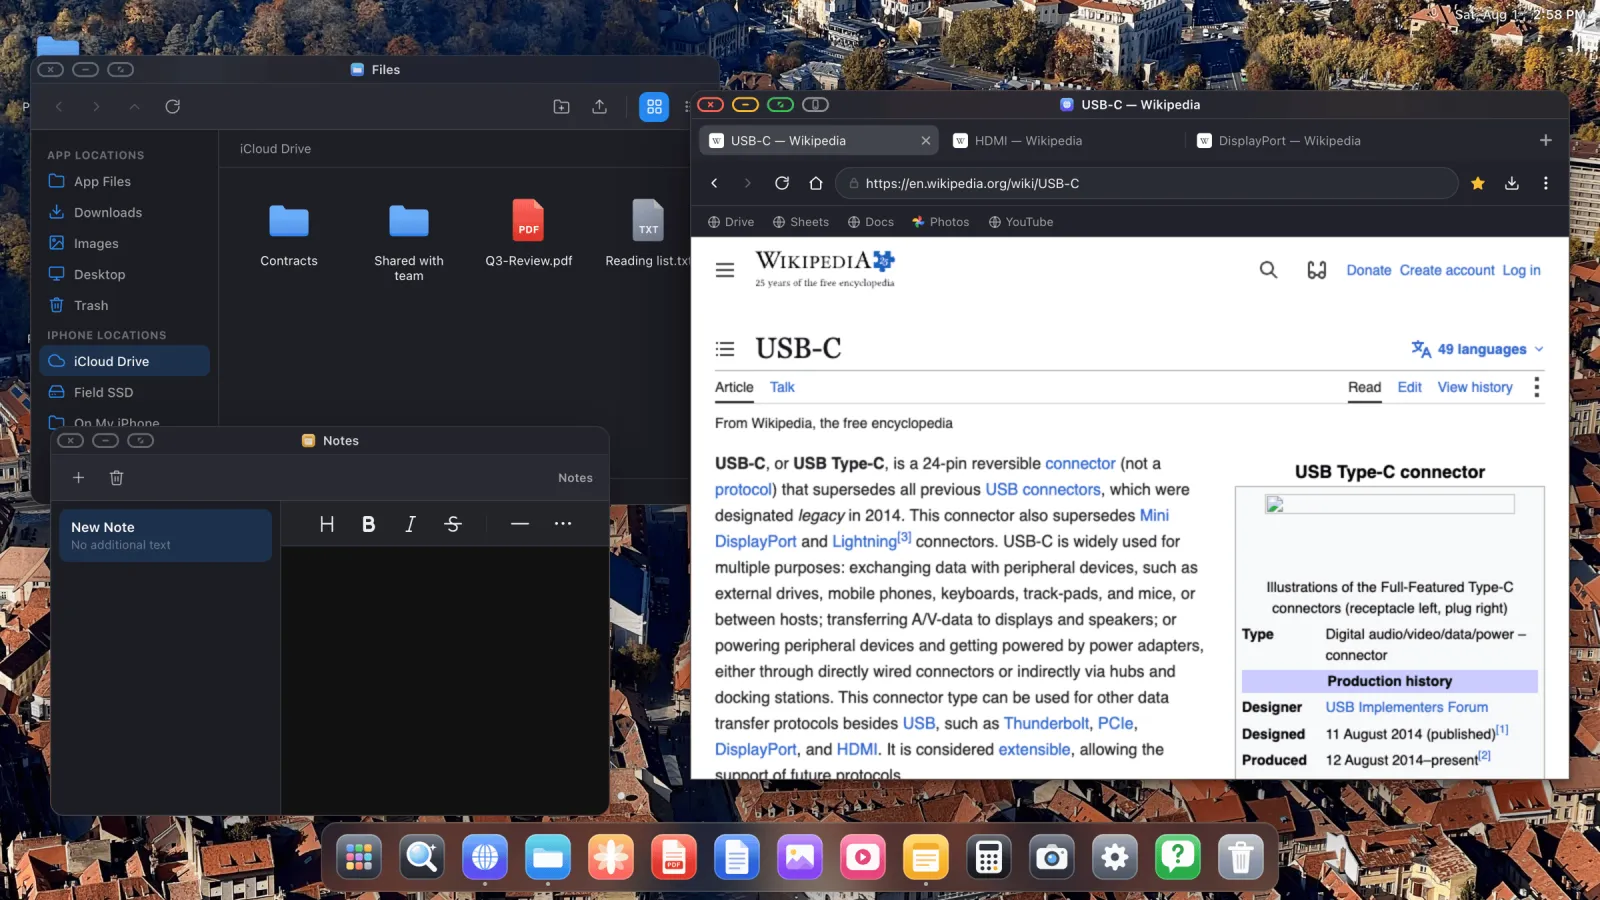
Pointer speed lives in Settings › Mouse. One thing to know before you get frustrated: iOS applies its own accessibility tracking speed on top of the app's. If the cursor feels sluggish at every setting, raise iOS Settings › Accessibility › Pointer Control › Tracking Speed first, then fine-tune inside XeOS.
Step 6: learn the two buttons that matter
Every window has the usual traffic lights in the corner, plus one extra button XeOS adds.
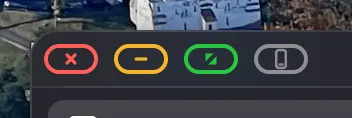
Green makes the window fill the display completely, with no dock or title bar left on screen. It's the button behind full-screen video, slideshows and presentations, and you'll use it constantly.
Grey switches to Device Layout Mode, which hands that page to your phone's own screen for a moment. It exists because of a real iOS limitation rather than a design whim, and the Device Layout Mode guide explains the whole thing.
Where to go next
- Watch YouTube full screen, with ads blocked and the bars gone
- Run a photo slideshow on a TV, two ways
- Present slides or a PDF without a laptop
- Browse your files, iCloud Drive and external drives
- Import your bookmarks and passwords so logging in is quick
XeOS: External Display Browser turns an iPhone or iPad into a full desktop on any monitor, TV or projector.
Common questions
Does this work on an iPhone without USB-C?
Yes. Lightning iPhones connect through a Lightning Digital AV Adapter for HDMI, or a Lightning to VGA Adapter for older projectors.
Do I need Stage Manager, or an M-series iPad?
No. XeOS draws its own desktop, so it doesn't depend on Stage Manager or on any particular chip. That's why it works on an iPad Apple never gave external display support to.
Will my display charge my phone at the same time?
Only if the connection carries power. A plain USB-C to HDMI cable doesn't. A multiport adapter with a pass-through charging port does, and so does a USB-C monitor that supplies power.
Can I still use my phone while it's connected?
Yes. The phone's screen becomes a trackpad by default, and you can move any window over to it temporarily with the grey button.
More guides


Try XeOS: External Display Browser
Full screen on any external monitor, TV or portable display. No black bars. Download on the App Store.