External Display BrowserUSB-C Hubs4 min read
iPhone + USB-C Hub + External SSD: The Power-User Setup for Working Off a Phone
A phone with one port makes you choose: screen, or storage, or power. A hub removes the choice, and once you can mount a drive next to a monitor you've stopped using a phone and started using a small computer. What to buy, what to avoid, and how the mounted drives work.
What you're building
The target setup: phone → USB-C hub → monitor over HDMI, external SSD over USB, charger over power delivery. One connector on the phone, three things attached, and the phone charging the whole time.
Choosing a hub
Three things matter and nothing else does:
| Feature | What to look for |
|---|---|
| HDMI out | 4K30 is plenty; 4K60 if your monitor is high-refresh and you care |
| Power delivery pass-through | Non-negotiable. Driving a display and a drive drains a phone quickly |
| USB data port | USB-A and USB-C both work; USB 3 speeds if you'll move large files |
You can ignore Ethernet, since your phone has a data plan. Ignore SD readers unless you shoot on cards. Ignore anything advertising "dual display", because a phone drives one external display and that's that.
Do be careful at the bottom of the market. Very cheap unbranded hubs are the usual cause of a monitor that flickers or a drive that keeps disconnecting. This is the one component where the middle of the market beats the bottom by a wide margin.
Choosing a drive
Bus-powered SSDs are the right answer: small, fast, no separate power brick, and a phone can supply what they need. Large spinning drives often can't be powered from a phone at all and will want their own supply. For format, exFAT is the safe universal choice, FAT32 works for small drives, and APFS and HFS+ generally work too. As a rule of thumb, if the iOS Files app can see the drive, XeOS can mount it.
Making the drive usable
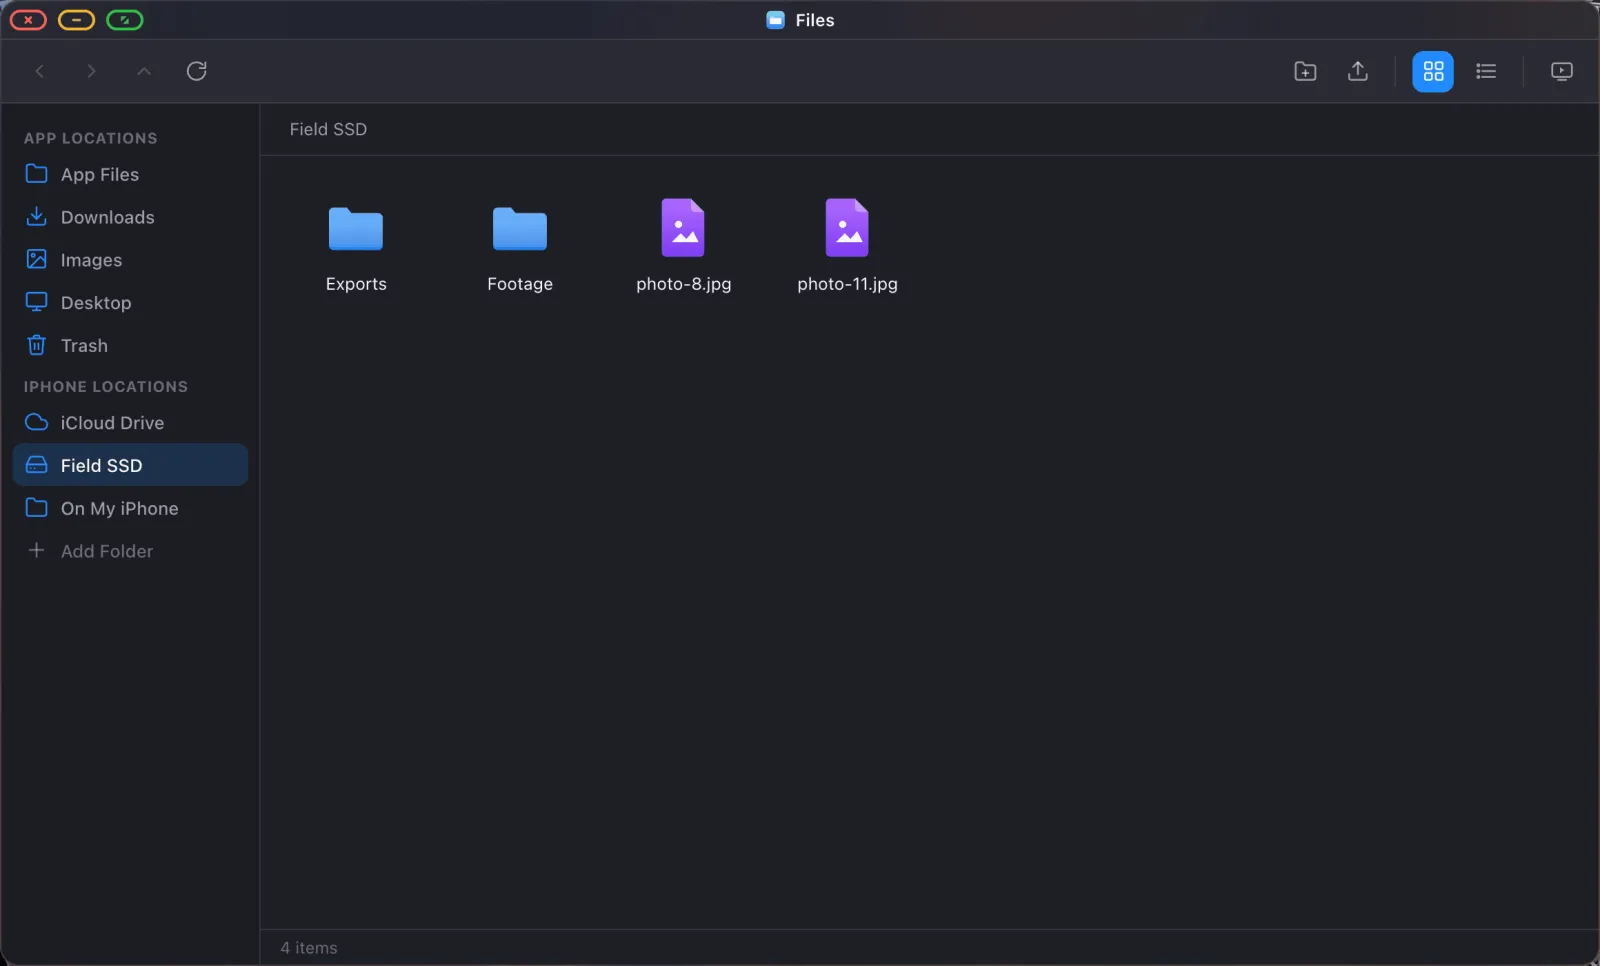
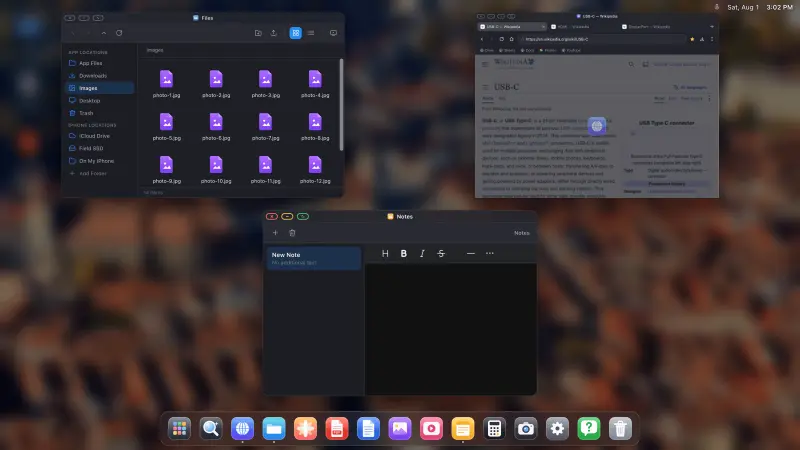
iOS can see a drive in its Files app, but that's a picker rather than a workspace. XeOS: External Display Browser mounts folders properly. They get a permanent place in a sidebar, they survive restarts, and files inside them open in real viewers instead of quick previews.
- Plug the drive into the hub.
- Open Files in XeOS and click Add Folder in the sidebar.
- Navigate to the drive in the picker and choose the folder you want.
- It appears in the sidebar with a drive icon, and stays there.
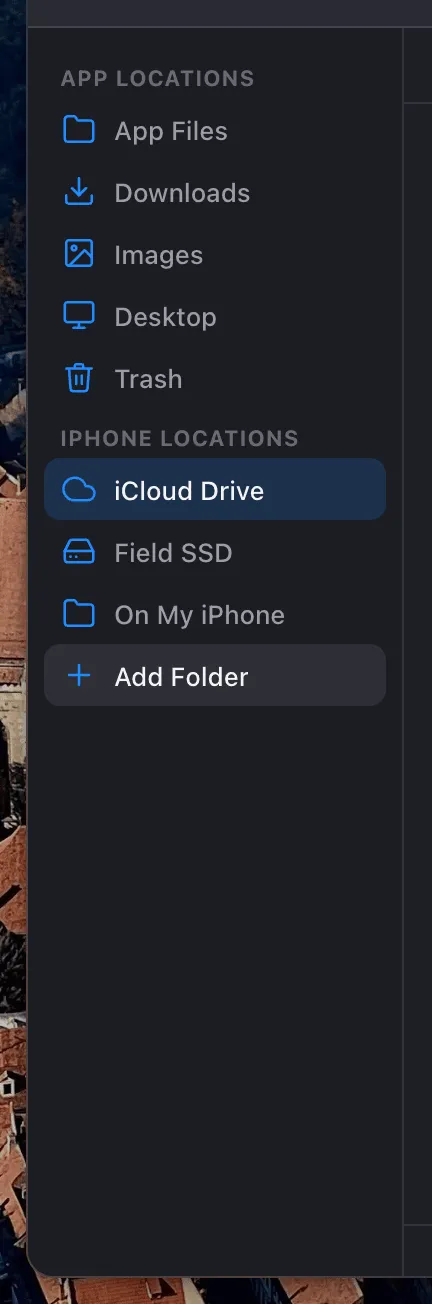
Unplug the drive later and the location isn't lost. It's marked unavailable, with a Check Again action for when you reconnect.
Mounting iCloud Drive too
The same mechanism mounts an iCloud Drive folder, and this is where it stops being about a drive and starts being about a workflow. Your working folder from iCloud on one side, the SSD on the other, drag and drop between them.
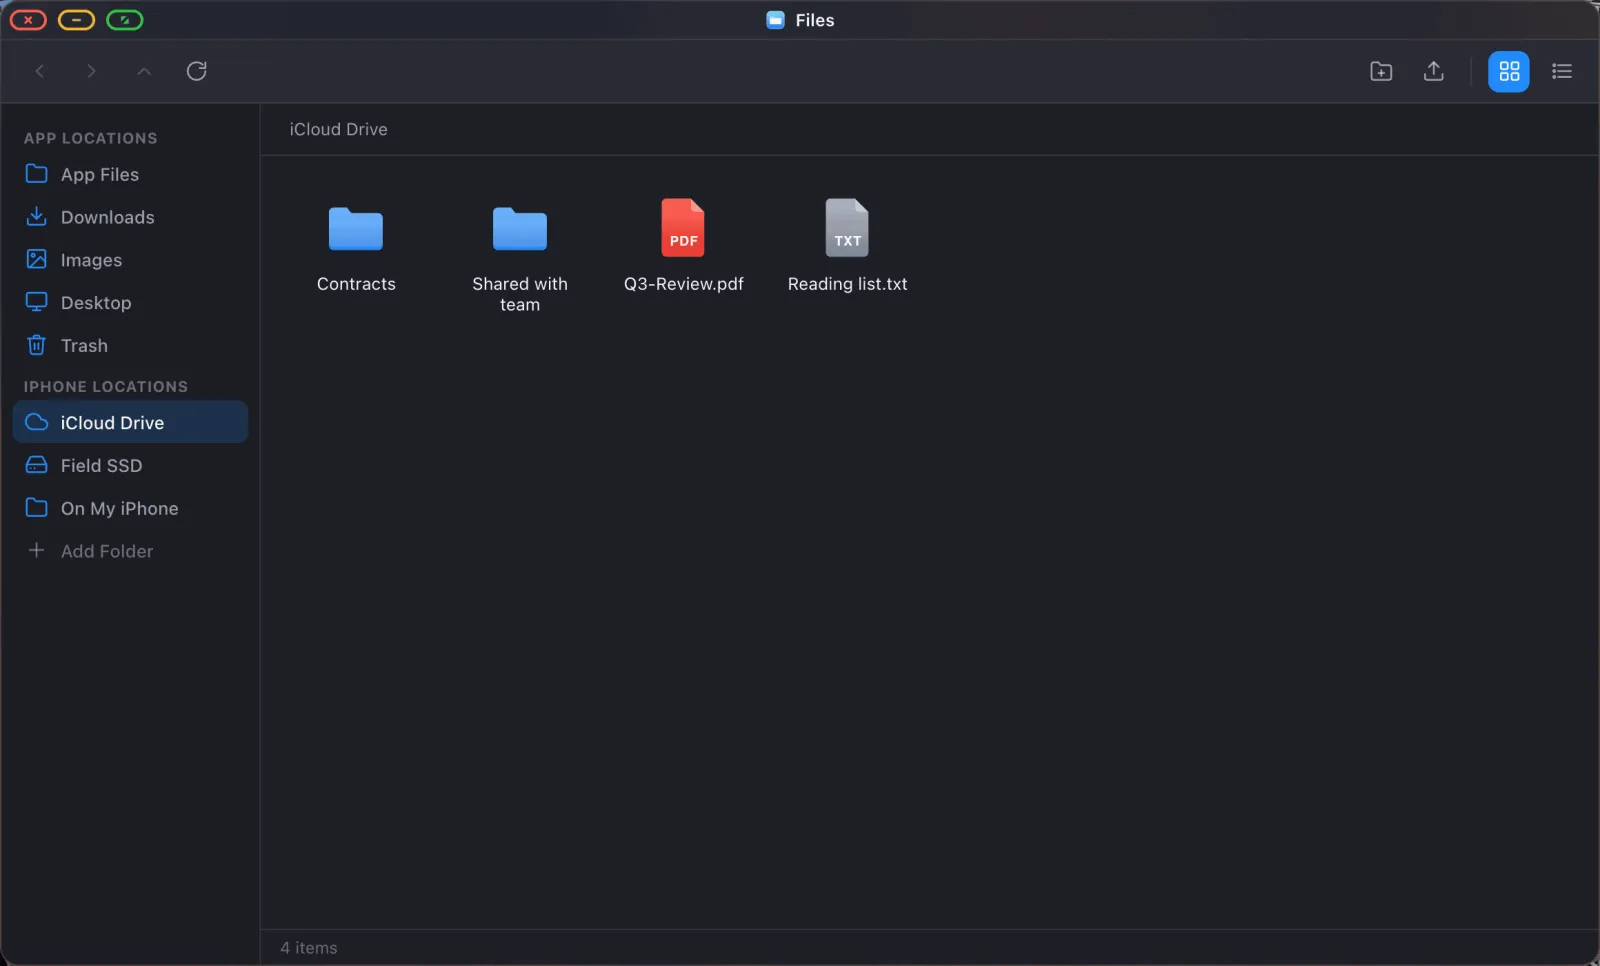
Files that haven't downloaded from iCloud yet still show up in the listing and get fetched when you open them.
One iOS rule to know. You can't mount the whole "On My iPhone" store, because iOS treats it as a provider root that apps aren't allowed to enumerate. Mount the level below, On My iPhone › Documents for example, and everything works. iCloud Drive isn't affected: it mounts fine at the root.
What you can do once it's mounted
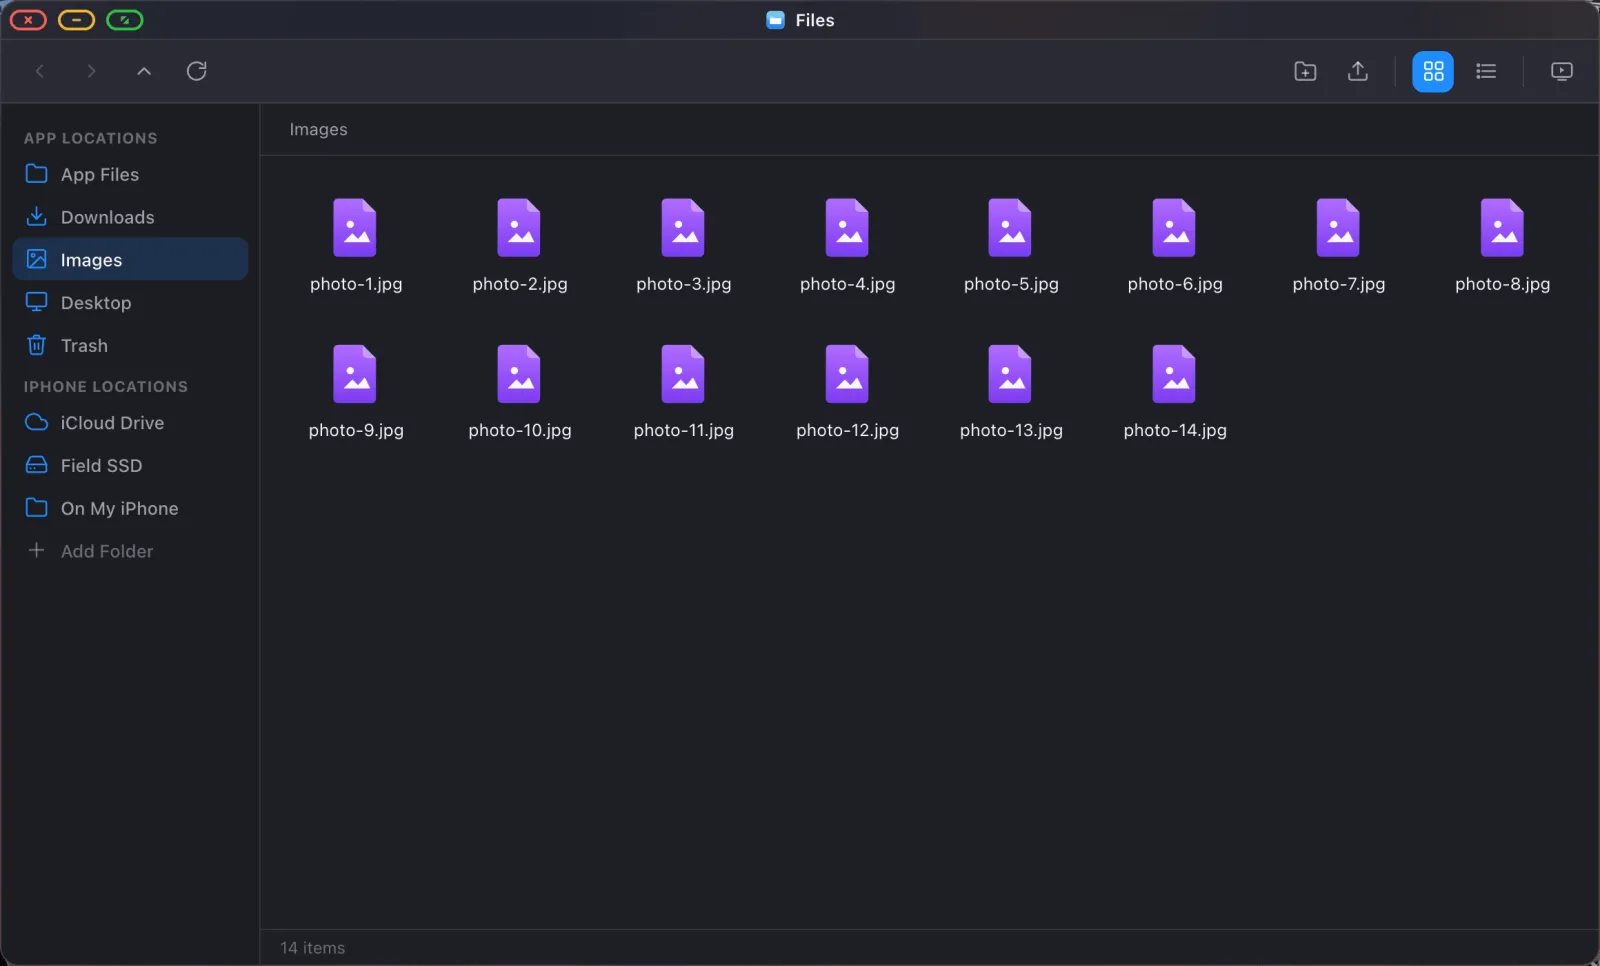
- Open PDFs, images, video, text and Office files in place, in real viewers.
- Drag and drop between locations, with progress for large copies.
- Zip and unzip with no separate tool. Double-clicking a
.zipextracts it in place. - Rename, duplicate, compress and delete from the right-click menu.
- Slideshow a folder of images full screen.
- Search across every mounted location from the Option Space overlay.
- Pin a folder to the dock so it's one click away.
A realistic power-user day
- Phone into the hub. Monitor, SSD and charger into the hub.
- XeOS opens on the monitor with last session's windows already in place.
- Card or SSD contents mounted in one sidebar, iCloud working folder in another.
- Copy across, review full screen, annotate a PDF, write the accompanying notes in a browser window beside it.
- Unplug. Everything's on the SSD and in iCloud.
Limits
Your other iPhone apps don't run inside the desktop. You get the browser, the built-in apps, and websites you install. A phone also supplies limited bus power, and two hungry devices on a cheap hub is exactly where trouble starts. Sustained large transfers are limited by the hub and the drive at least as much as by anything on the phone.
XeOS: External Display Browser turns an iPhone or iPad into a full desktop on any monitor, with real file management for iCloud Drive, local folders and external drives.
Frequently asked
Do I need to re-grant drive access every time?
No. A mounted location is remembered across restarts.
What drive format should I use?
exFAT is the safest universal choice. If the iOS Files app can read the drive, this can mount it.
Will a hard drive work, or only SSDs?
Bus-powered SSDs are the reliable option. Larger spinning drives usually need their own power supply.
Can I edit a file on the drive directly?
Yes. You're working on the real file, and saves write back in place.
More from the blog
Try XeOS: External Display Browser
Full screen on any external monitor, TV or portable display. No black bars. Download on the App Store.